
Materials required:
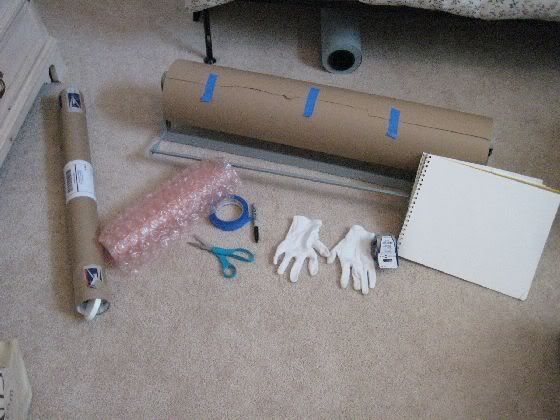
Kraft paper (recommended: U-Line 60 pound paper)
Bubble wrap
100% Cotton gloves (optional but ALWAYS recommended)
Paper
Blue painter's tape
Scissors
3" or above Yazoo tube (don't use a ULine tube)
Sharpie
Packing tape
A clean surface (in this guide, I am using a freshly vacuumed carpet as the surface)
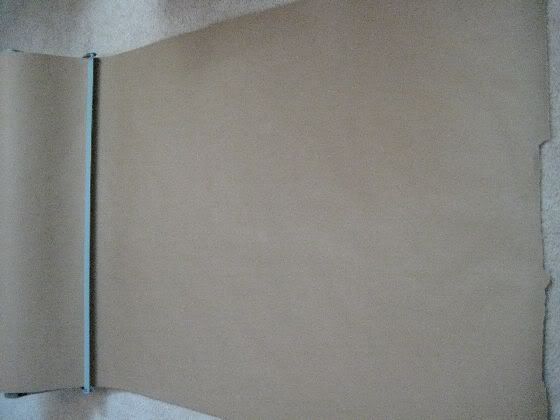
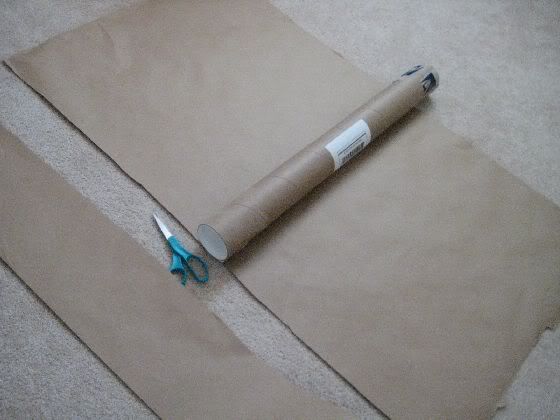
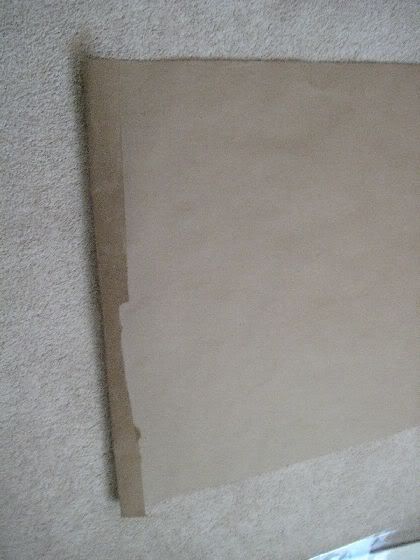
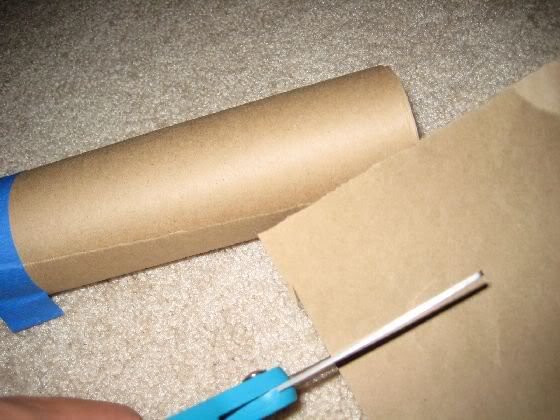
Unravel the kraft paper roll until it has reached the length of the print. Cut the kraft paper.
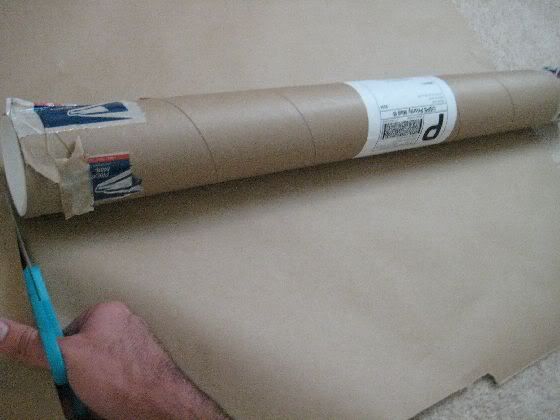
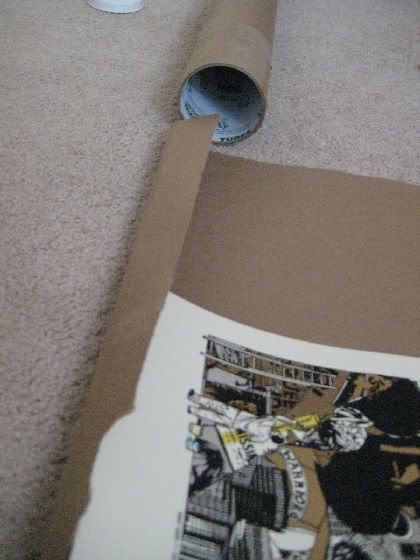
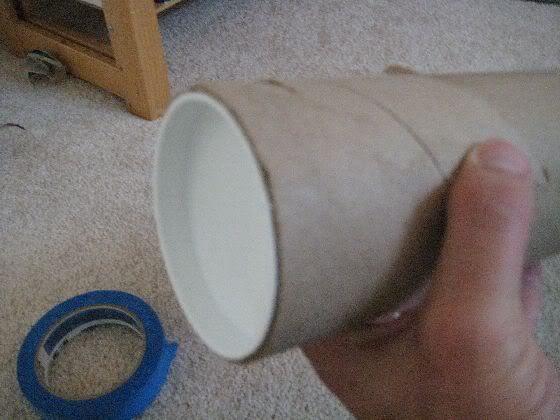
Place the tube on the kraft paper - it will act as your cutting guide. You are going to cut the kraft paper so that it will have some space inside the tube. As such, you are going to put around 20-25% of the tube off the roll to ensure that the measurement is correct (see photo).

Roll the tube and cut at the same time. The tube will guide you along. Don't worry about not getting the kraft roll exact. If you think you haven't cut enough slack, shave a little off the side.
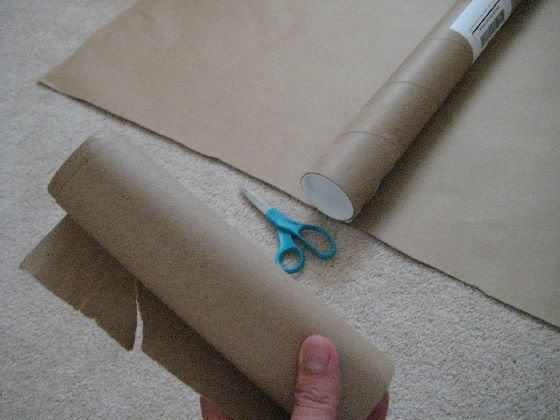
Save the excess paper. You will need it later.
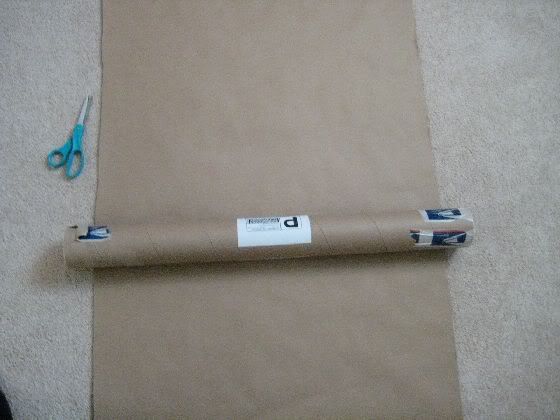
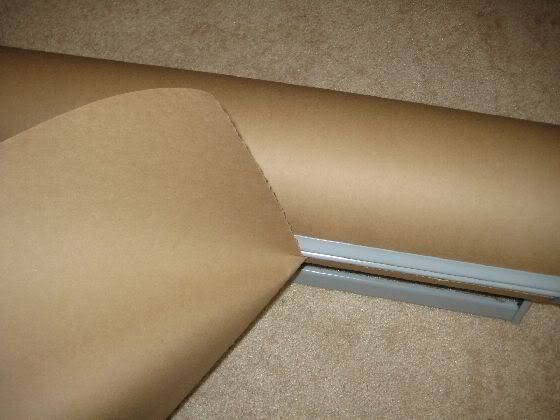
Notice how the kraft paper will have slack when placed into the tube. If your kraft paper is not like this, cut it a bit shorter.
WARNING: Also keep in mind that you want the art print to have a good amount of space between the kraft paper and the edge of the tube. Don't cut the sides of the kraft paper too short.

Put on your gloves (NB: optional but recommended) and prepare the art print for transport. Goodbye, old friend.
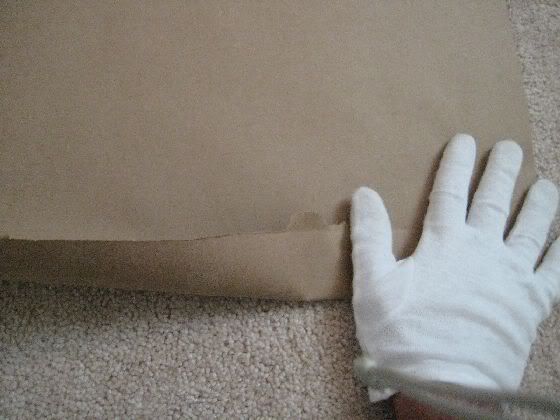
Fold down the edge of the kraft paper so that your print will not slide around during transport. Place the art on the kraft roll.
Place some blue painter's tape aside. You will need it readily available for the next step.
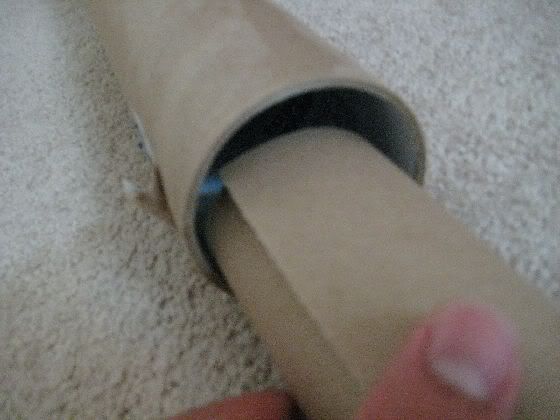
Roll the kraft paper smaller than the diameter of the tube to prevent the damage from transferring from the tube to the art print in case of damage during transit. The spacing won't matter too much, but try for 1/2" of free space - the lateral damage is your main concern which we will address later.
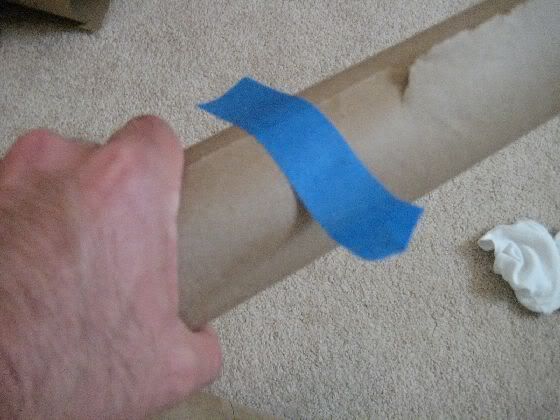
Apply some tape to the center of the kraft roll to keep it in place. DO NOT apply all the tape at once.
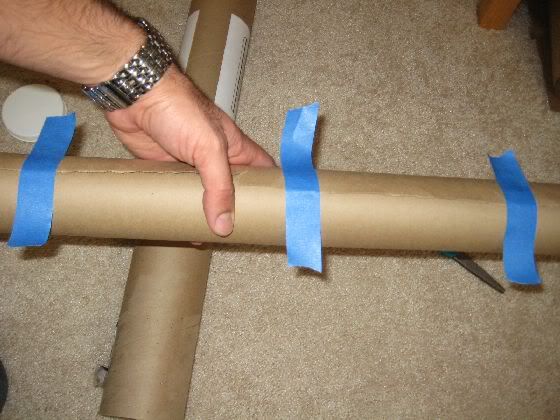
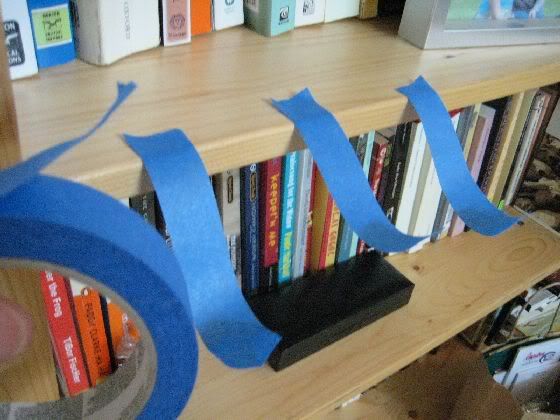
Apply the two other pieces of tape to the side of the tube like the above image.
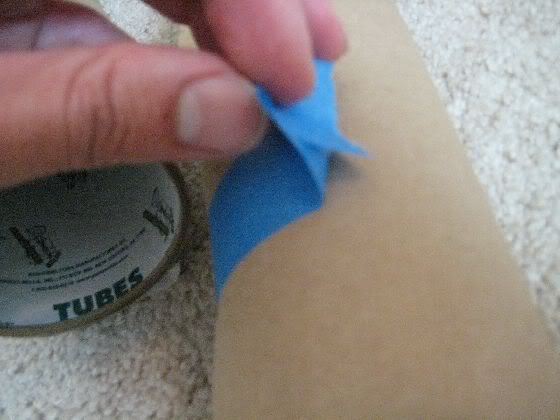
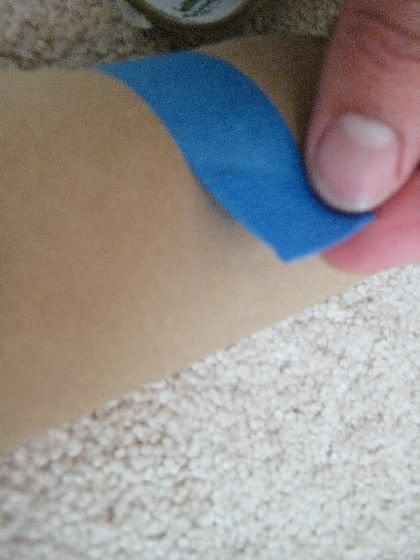
Fold the top of each piece of blue tape into small tabs so that when the recipient pulls down on each tab, the tape will come off cleanly. You can flatten the bottom of the tape so that it will hold.
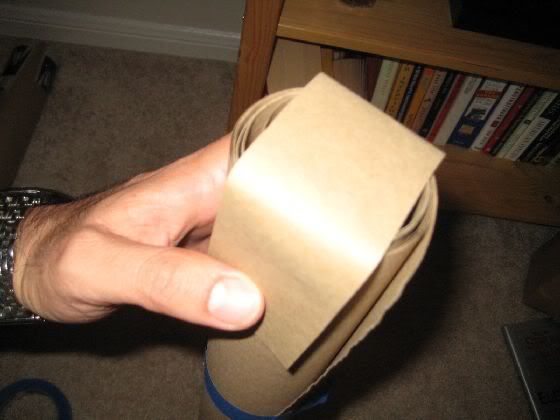
Pull the kraft paper you saved from earlier and cut it so that you have a tab covering the opening of the kraft roll. The kraft tab will prevent bubble wrap from entering the kraft roll later.

Tape the kraft tab with one piece of tape per side. Fold the tape up top so that the recipient can remove it with ease later on.
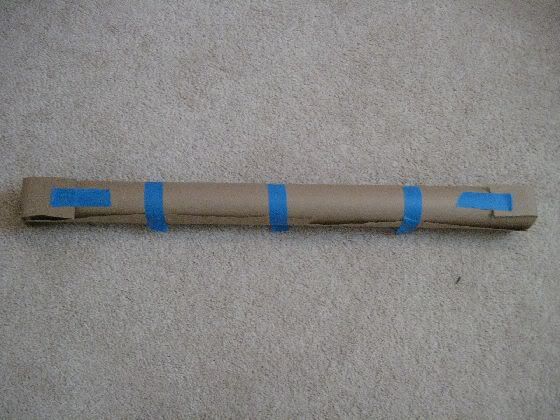
You should now have a taped up kraft roll.
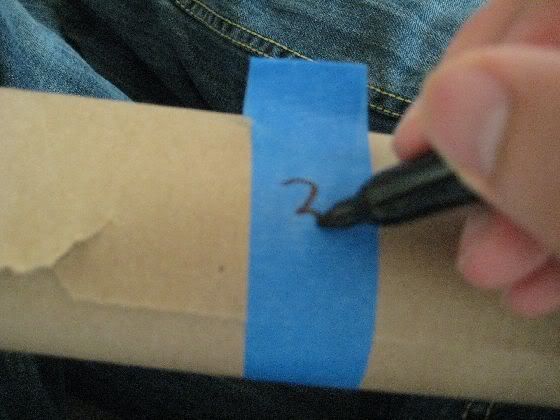
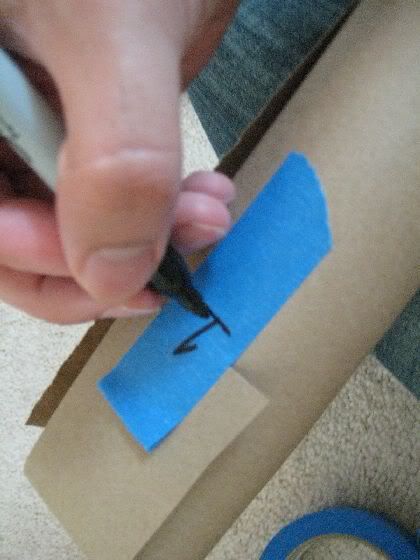
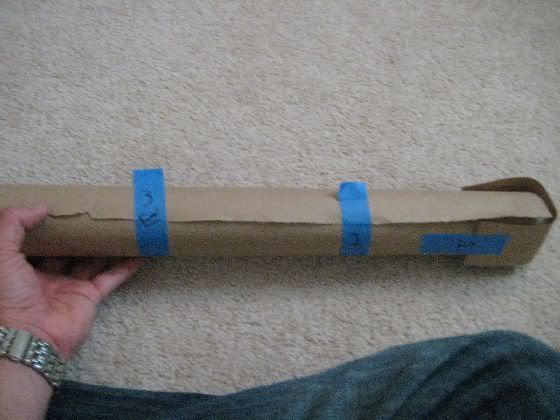
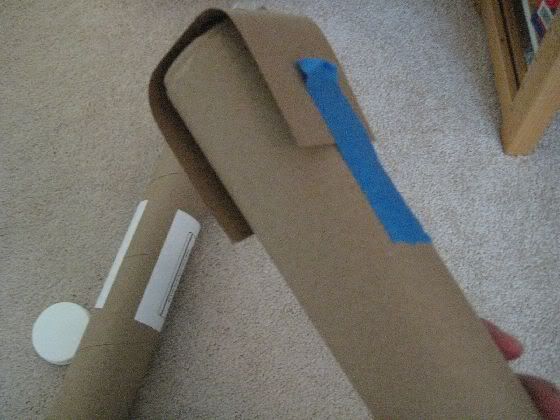
Take the sharpie and begin label the tape backward: 3 for the last tape tab to pull (center), 2 for the side tape tabs, and 1 for the kraft paper tab tape tabs.
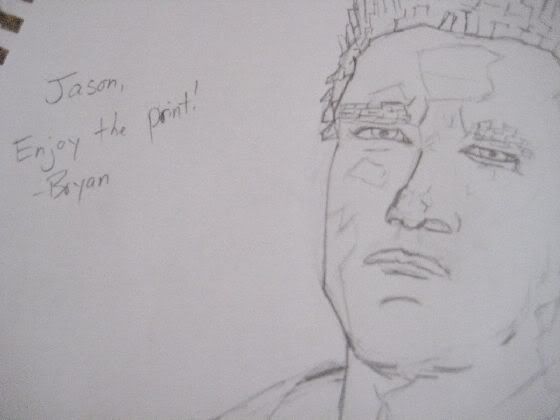
Take your paper and draw a sketch or nice letter for your recipient to show you care.
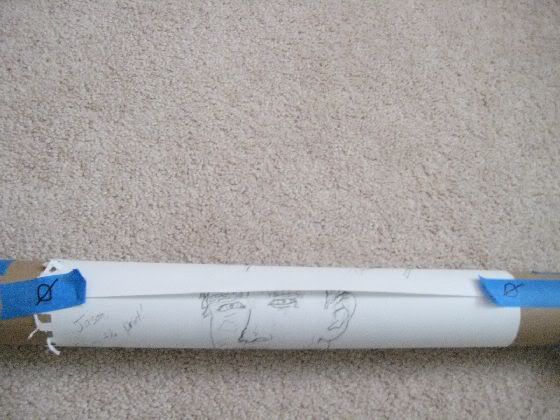
Attach the paper item with two pieces of tape on either end. Label the tape 0 to indicate that the recipient must pull those tabs first.
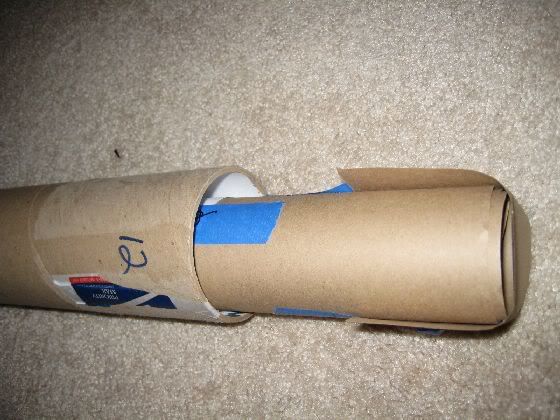
Place the kraft roll in the Yazoo tube. WARNING: Do not use a U-Line tube - your print will have a high chance of getting damaged in transit.
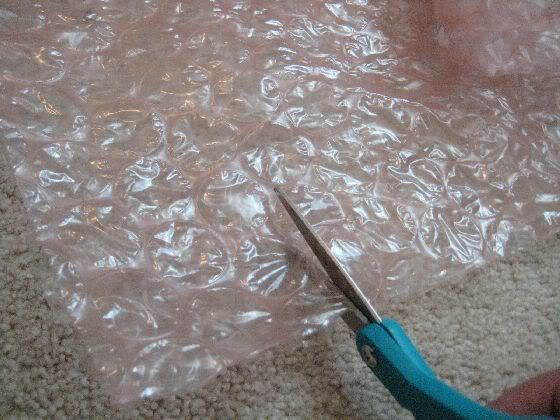
Cut a few pieces of bubble wrap to fit in either end of the tube. The bubble wrap will prevent any lateral damage from occuring to the kraft roll and will dampen any impact.
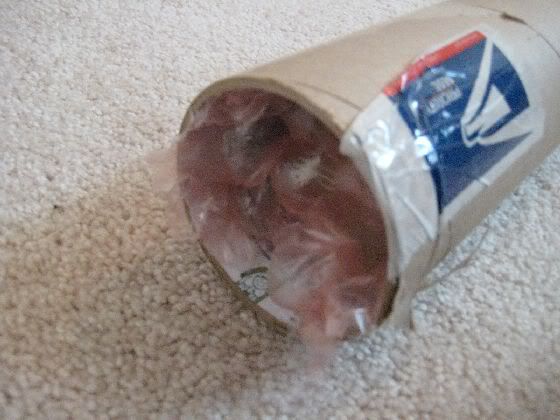
Cap the tube on either end. Shake the tube and make sure the kraft roll isn't moving around. If the kraft roll moves, take the caps off and put more bubble wrap in. You will want a snug fit - you may even feel resistance when putting the caps back on which is normal.
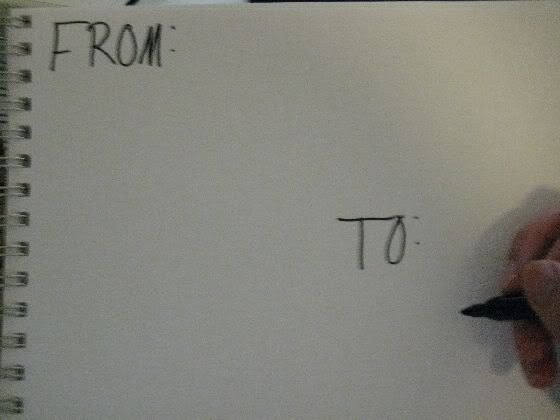
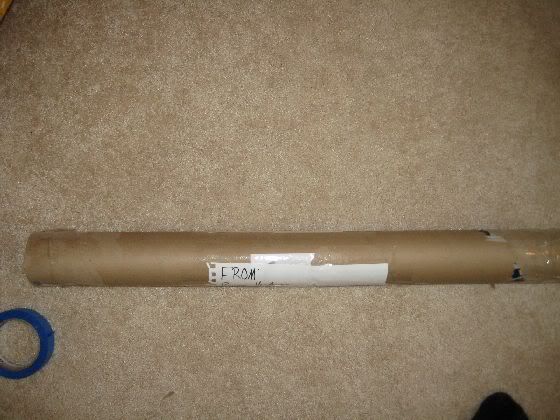
Take your sharpie and paper and address the tube. In the picture above, I was going to write the address info below to and from.
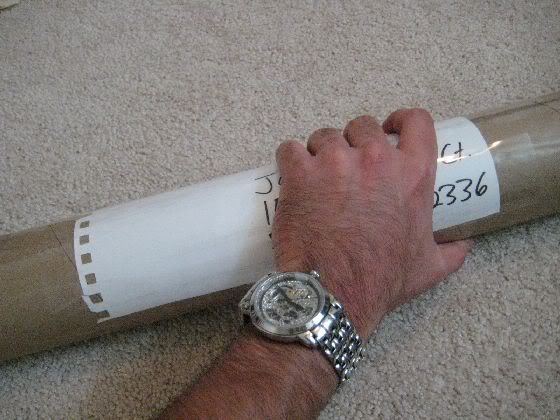
Tape the label to the tube. Make sure the tape is completely covering the label in a single layer.
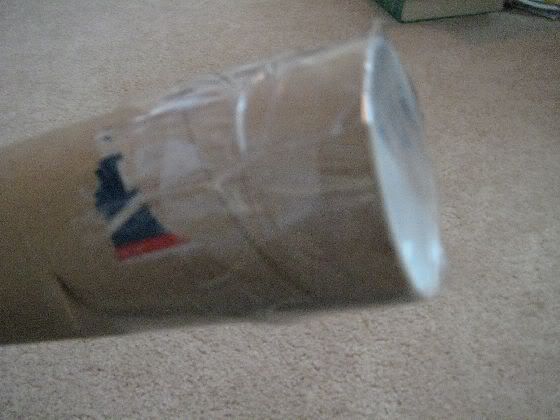
Tape the caps closed. I usually put 3 pieces of tape laterally then wrap one piece of tape horizontally to keep it all in place.
You're done. Take that guy to the post office and ship it insured priority with insurance and tracking.


