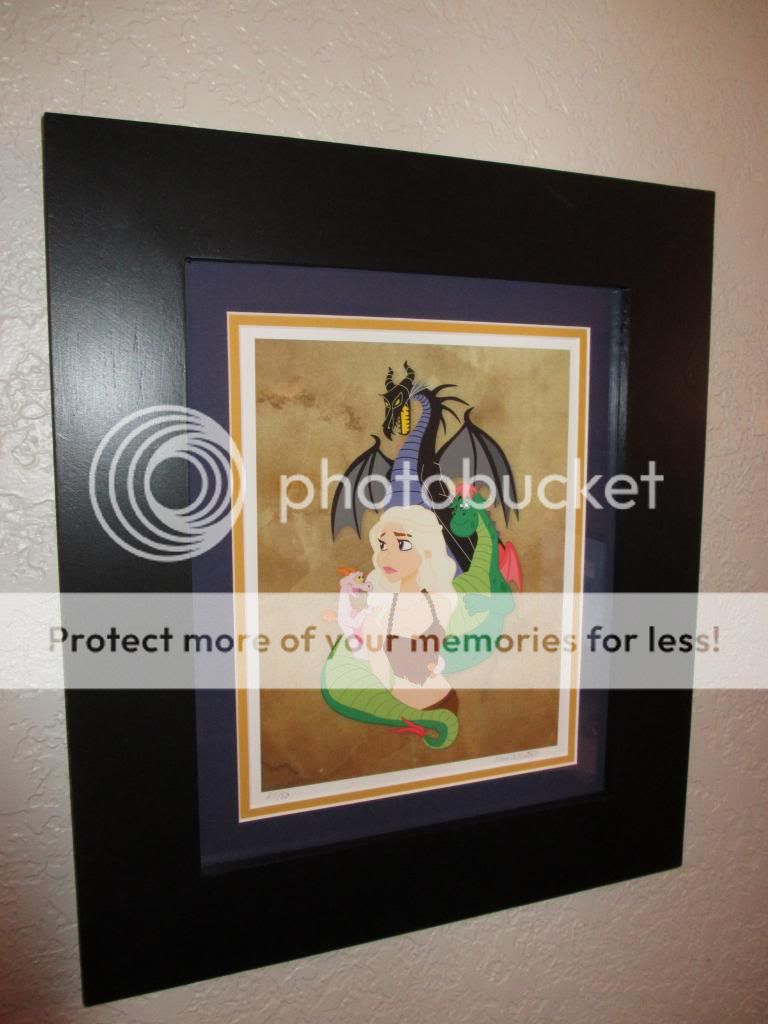
First print I'm making a frame for is one of my favorites:

I started by grabbing $6 worth of white pine at Home Depot and cutting a 1/2" rabbit groove into it:

I then measured out the size I want and used my chop saw to make the cuts @ a 45' angle for (hopefully) flush joints:


After some trial and error and getting all the joints relatively close, I began joining them. I did a lot of research to try and find a somewha inexpensive but efficient way to join them and settled on using Logan's Studio Joiner (40% off at Hobby Lobby) and wood glue. It seems to make a sturdy enough joint for what I'm looking to accomplish currently.


As you can probably tell, there are some imperfections in the frame so I'm using a wood-putty to hopefully cover up the gap in the one corner, sand over it, then begin the aesthetic process..

I'll have more to post tomorrow. Above is what I got done in about 1.5 hours this afternoon and I'm hoping it'll turn out well.


 X5 Hodor